Fence Your First Pasture the Right Way
You don't need experience. You just need the right starting point.
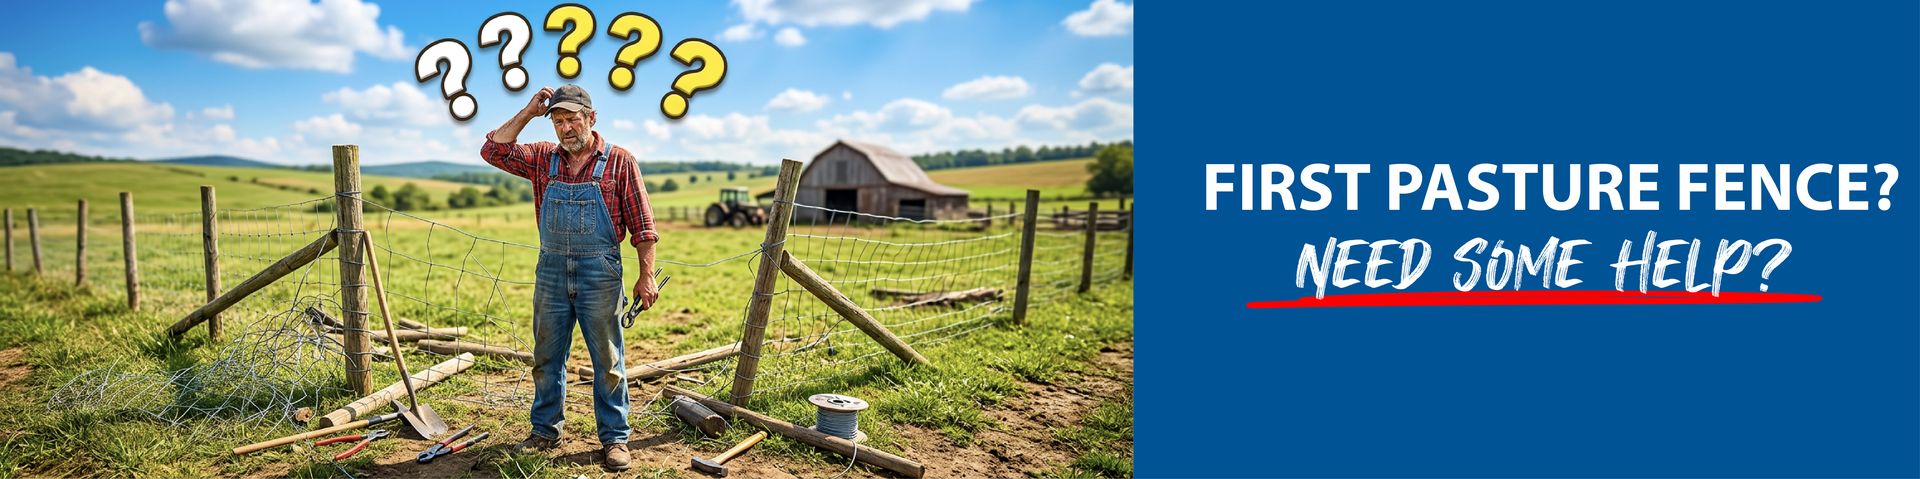
Starting your homestead this spring? Fencing your first pasture is one of the most important things you'll do — and it doesn't have to be complicated. This guide walks you through everything you need, step by step, so you can get it right the first time.
Everything You Need to Get Started
Follow these steps in order. Each one builds on the last — skip ahead and you'll be backtracking.
STEP 1: Corner & Brace Posts
Every fence starts at a corner. Corner posts take the full tension load of your fence line — they need to be larger, deeper, and more solidly set than your line posts. A proper H-brace assembly connects your corner post to a secondary brace post, distributing the load and preventing lean.
Wood Corner Posts H-Brace Assemblies Brace Tighteners
BEGINNER TIP: Set corner posts in concrete. Line posts can be driven directly into the ground, but corners take too much force to rely on soil alone.
STEP 2: Line Posts
Line posts run between corners and support your wire. T-posts are the most beginner-friendly option — they drive quickly, hold wire securely, and are forgiving if you're not perfectly straight. Space them 8–12 feet apart for woven wire, 15–20 feet for high-tensile electric.
Steel T-Posts Wood Line Posts Post Driver
BEGINNER TIP: Use a string line between your corners to keep posts in alignment. It takes five minutes to set up and saves you from a fence that wanders.
STEP 3: Wire or Conductor
The barrier itself. Match your wire to your animal — this is the most important decision you'll make. Woven wire for cattle and sheep. High-tensile for large perimeters. Polywire for rotational grazing. See the animal guide below for a full breakdown.
Woven Wire High-Tensile Wire Polywire
BEGINNER TIP: If you're raising goats, use woven wire with openings small enough that they can't get their head through. If their head fits, they'll go through.
STEP 4: Stretch & Tension Your Wire
Tension is what separates a fence that lasts from one that sags within a season. Use a fence stretcher to pull wire tight before attaching it to posts — never attach wire first and try to tighten after. Work corner to corner, one section at a time.
Fence Stretcher Wire Tensioners Fence Staples
BEGINNER TIP: Proper tension means the wire springs back when you push it. Loose wire is not a fence.
STEP 5: Electric Fence System (If Applicable)
If you're running any electric fencing, you need four components working together: an energizer, insulators, ground rods, and a fence tester. Miss one and the system won't work — no matter how good everything else is.
Energizers Insulators Ground Rods Fence Tester
BEGINNER TIP: Size your energizer up. A more powerful energizer running a short fence is far better than an undersized one struggling with a long run.
STEP 6: Gates & Hardware
Every fenced area needs a way in — and gates are used every single day. Think carefully about placement before you start. Consider where you need vehicle access, where you'll walk daily with feed, and where you'll move animals between pastures.
Wire Gate Kits Electric Gate Handles Spring Gate Kits
BEGINNER TIP: For electric fences, use an electric gate handle to carry voltage across the opening. A gate that breaks your circuit creates a dead zone your animals will find.
What Fence Does Your Animal Need?
Match your fence to what you're raising. The right wire for cattle won't necessarily work for goats — here's a quick guide.